Creating your Banner #
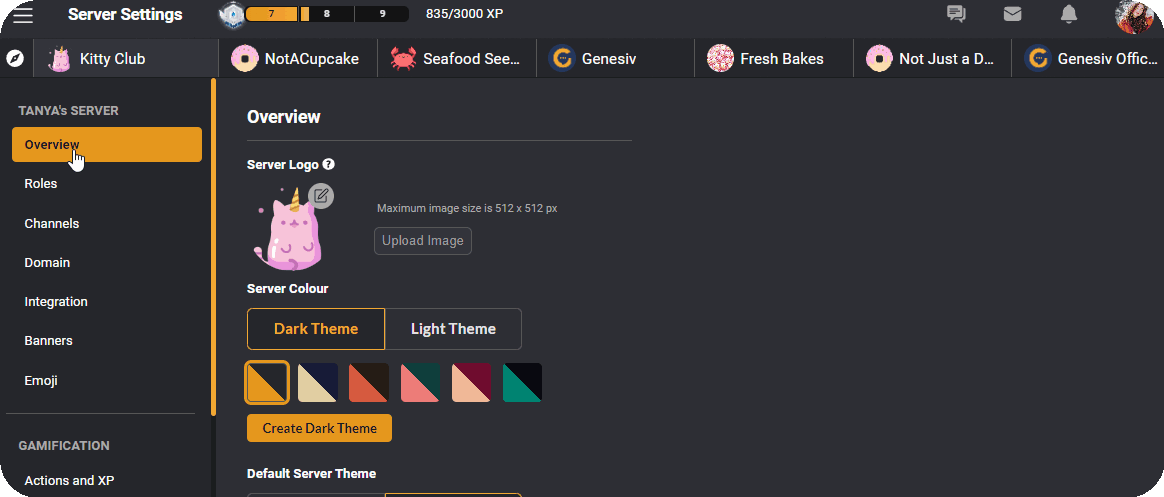
Banners are targeted pop-up ads aimed at your server members. They can be configured to show up on specific channels when users meet certain rules. To set up a banner, navigate to ‘banner’ in your server settings and click on the plus button to start setting up your banner.


Here you can customize your banner the way you would like:
Title: Give your banner an appropriate title so that it’s easily identifiable.
Setting: Choose whether you want the sender’s icon to appear in the banner or not.
Action: This allows you to add a hyperlink to your banner.
Style: Customize your banner’s colors and style.
Trigger: This setting decides when your banner is sent and to whom. Here is where you choose the channel where your banner will pop up and the roles that your banner will show up for. Only users with the chosen role will be able to see the banner. Make use of roles to push different ads to different groups of people.
Frequency & Scheduling: Decide a schedule that your banners will run on, and specify a start and end date for your banner campaign.
Message: Enter your banner message.
Make use of banners to market certain important events or promotions to members of your server. These can range from providing coupon codes to rewarding your top contributors!
Managing your Banners #
Multiple Banners can be created and run simultaneously on your server. You’ll be able to view all your banners on the main Banner page. Here you’ll be able to see the titles of all your current banners, all the channels they are set to run in, the roles they will appear to, the day they are scheduled to start & end, and their current status. You will also be able to gain insight into the number of times your banner has been viewed, and the number of URL clicks.
To edit or delete any banner, simply click on the pencil or trashbin icons on the right-hand side of each banner.


