Genesiv allows you to link a custom domain to your server. Utilize custom domains to create a fully branded experience for your community!
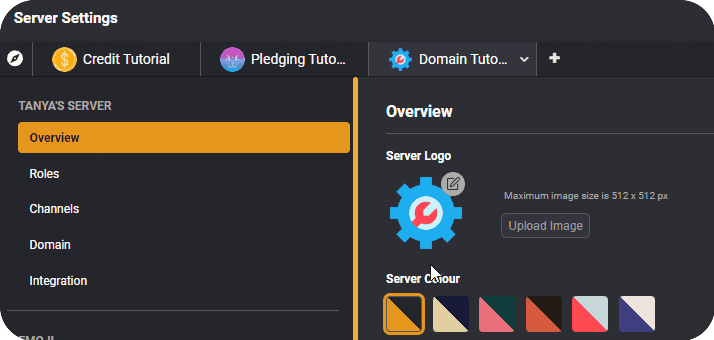
To link a custom domain, first, navigate to the server settings of your desired server.

In server settings, click on ‘Domain’ to open up your custom domain settings.

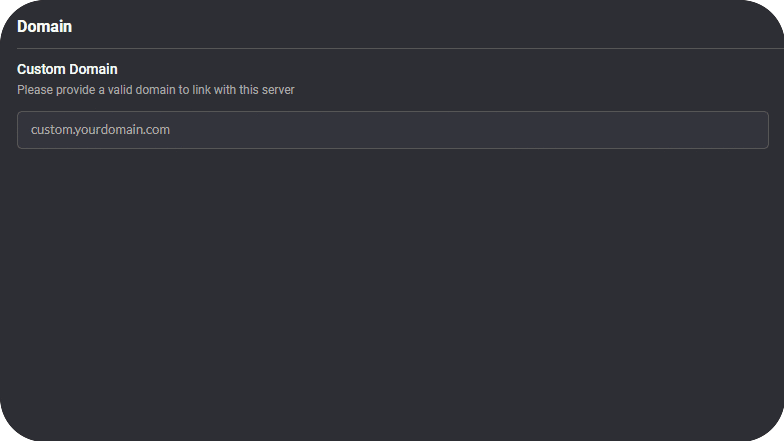
Once there, you can begin customizing your custom domain. Replace ‘custom’ with text of your choice, and ‘yourdomain’ with a valid domain link that you wish to use with Genesiv.
Once that is done, log in to your domain provider to create a CNAME record in your DNS settings by copying and pasting the values listed in ‘Type’, ‘Host/Name’, and ‘Target/Value’.
With that done, click on “Click here to verify” and if all is well, you should see it turn into a green “Verified”! You’ll then be able to load your server through your custom domain instead of doing it through Genesiv.


