Channels are the life of your server. They help facilitate community interaction in a multitude of different ways. Servers have 5 different channel types, each with unique characteristics that aid communication in a couple of different ways.
The 5 channel types are:
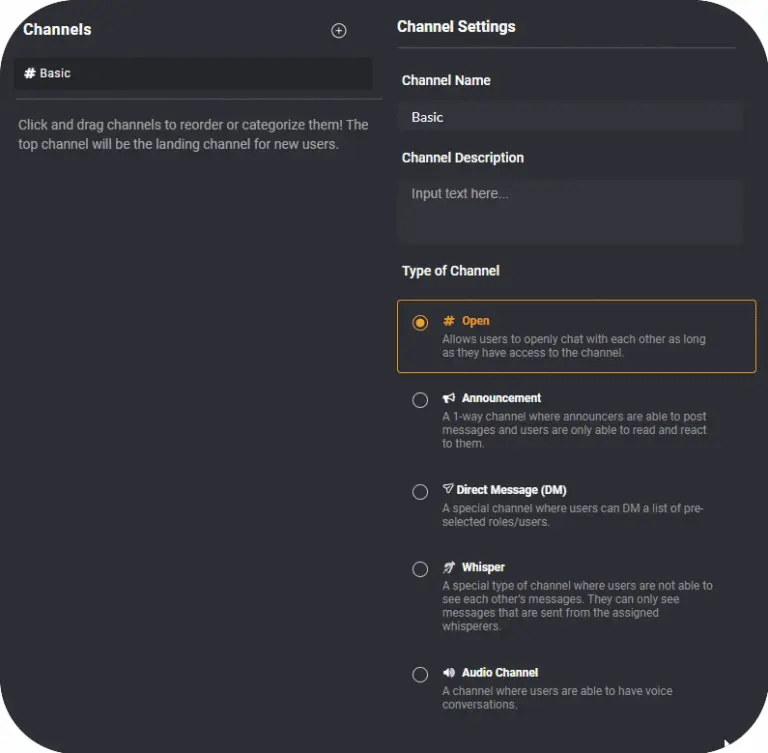
Open Channels: A text channel that allows users to openly chat with each other as long as they have access to the channel.
Whisper Channels: A special type of channel where users are not able to see each other’s messages. They can only see messages that are sent from the assigned whisperers.
Announcement Channels: A 1-way channel where announcers can post messages, whereas members are only able to read and react to them.
Direct Message (DM Channels): A special channel where users can DM a list of pre-selected roles/users.
Audio Channel: A channel where users can have voice conversations.
How to create a channel? #
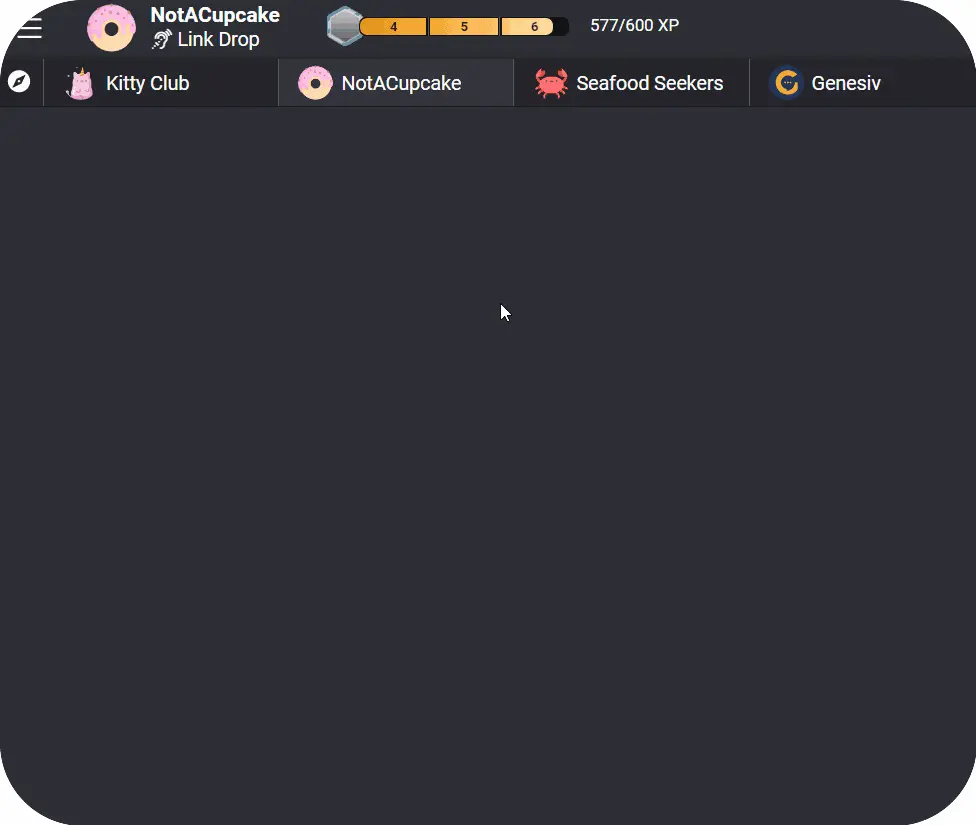
To create a channel, first, navigate to the server of choice and access your server settings.
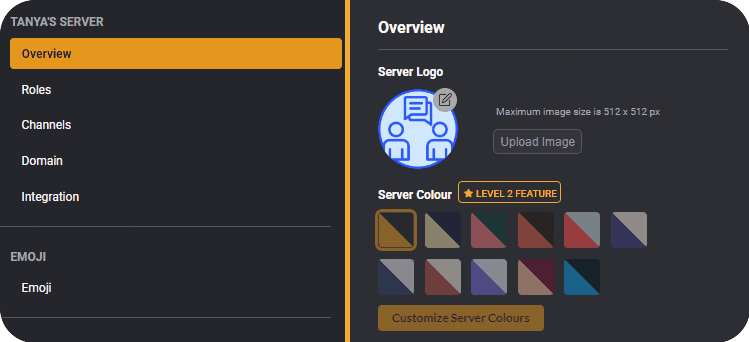
Once in serving settings, navigate over to ‘Channels’.
To make a new channel, click on the ‘+’ button next to ‘Channels’. Select ‘New Channel’ and your new channel will be instantly created. Channel settings such as the channel’s name, description, type & more can be found on the right-hand side. Click on ‘Save Changes’ once you’re done customizing your channel settings.
Creating channel categories #
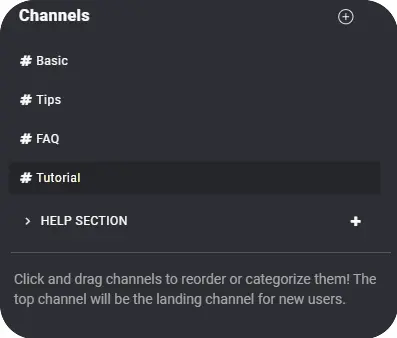
Having multiple different channels can sometimes result in your server looking messy and disorganized. Organizing them with categories will make each channel easier to locate and access. Categories are drop-down lists that you can create and name to sort your channels under multiple separate headings.
To create a category, click on the ‘+’ button next to ‘Channels’ and select ‘New Category’. Here, you may name your new category, adjust its description, and toggle category privacy.
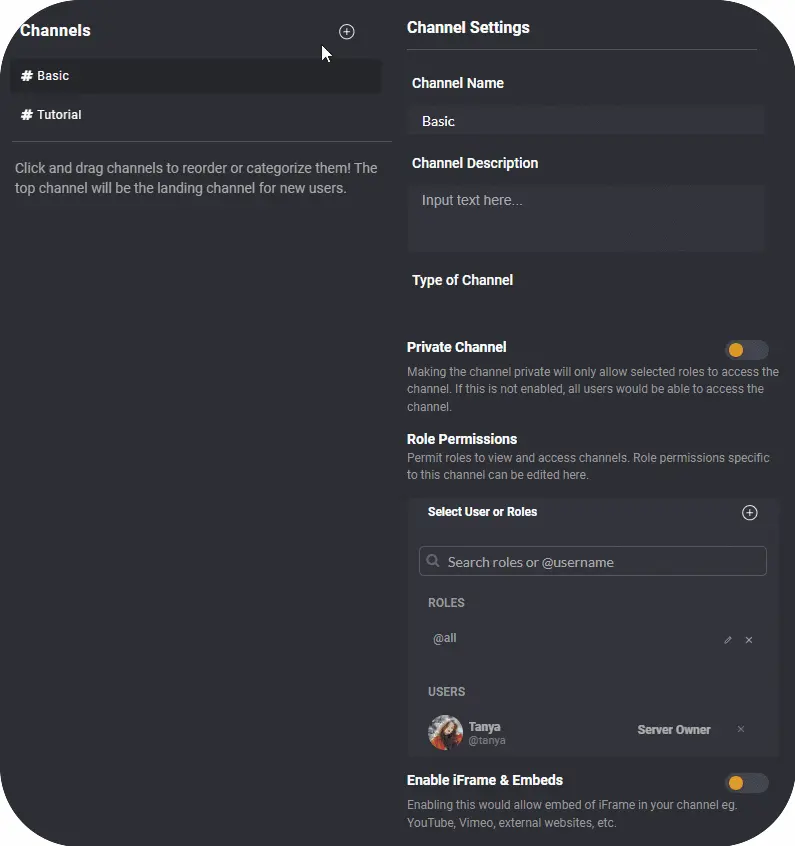
To organize your channels, simply click and drag channels into the desired category.
Controlling channel & category access #
The creation of channels and categories also allows you to control the access that your members have to them.
Private Channel/Category
Toggling a channel and/or category’s privacy will allow only selected roles to access the channel. If this is disabled, all users would be able to access the channel and/or category. Members not currently granted access will be able to submit requests to join private channels. Learn more about user request management here.
Billable Channel
Toggling a channel to billable will allow only selected, billable roles to access the channel. Learn more about user billable roles here.
Role Permissions
When a channel and/or category is made private, access will be controlled by way of role permissions. Specify specific roles or usernames that you wish to give access to.
To learn more about creating and configuring roles, check out our article on Role Management
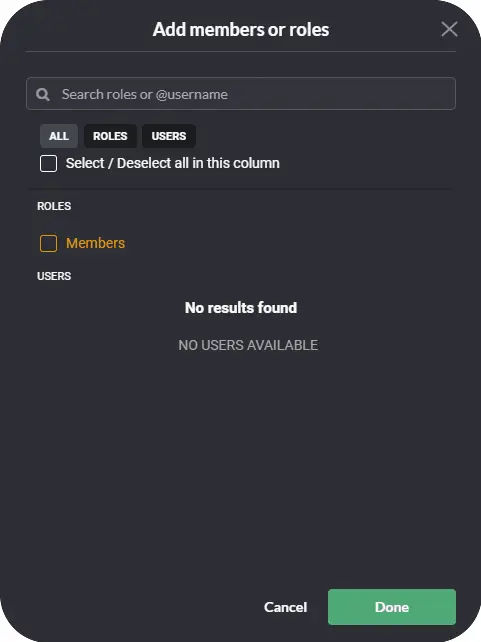
To control access to a specific channel, enable ‘Private Channel’ in your channel settings. Navigate over to ‘Role Permissions’ and click on the ‘+’ button next to ‘Select User or Roles’.
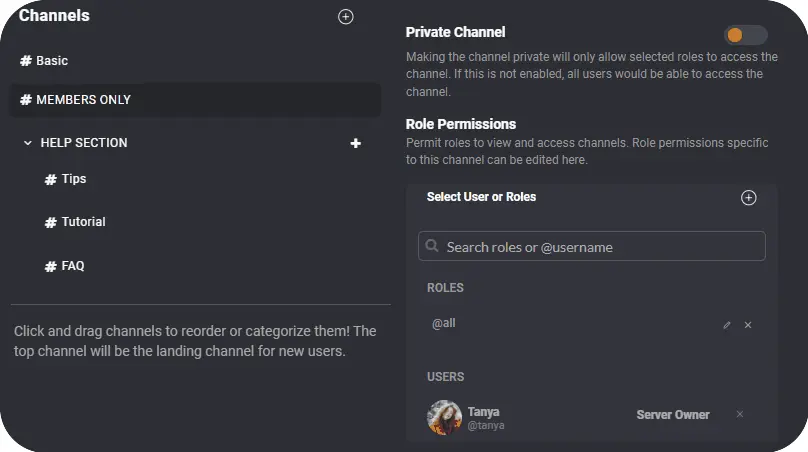
In the ‘Add Members or Roles’ window, select the role or user that you would like to give channel access to by checking the box beside it. Click ‘done’ and the role will be added into ‘Role Permissions’, giving all members with said role access to the private channel.
