Roles are customizable labels that can be created and attached to certain users of your server to determine what actions they are allowed to carry out on a server, and what content they are allowed to see. Roles are useful in helping manage your members and control their access to your server.
Creating a role #
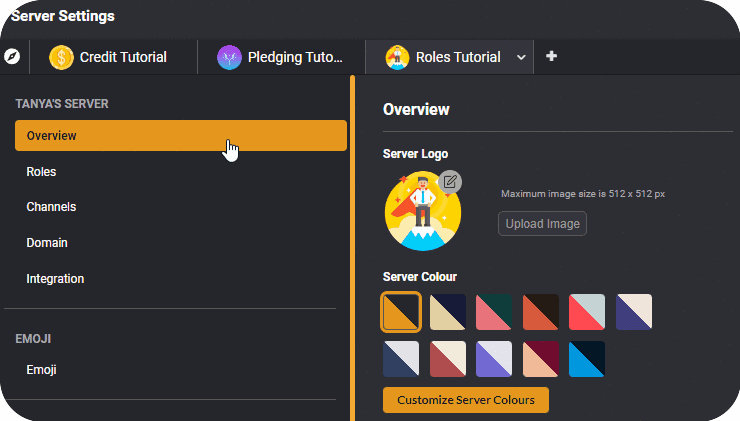
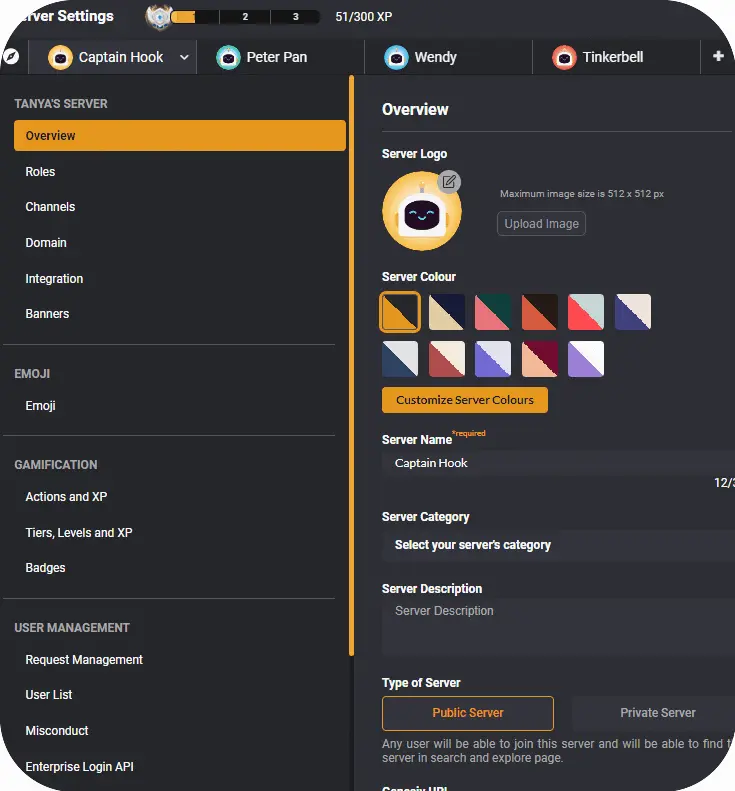
To create a new role, navigate to the server settings of the server you wish to create a new role for.

From there, select ‘Roles’ from the left-hand menu.
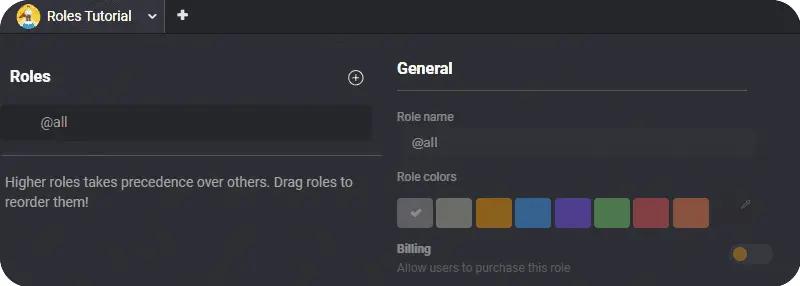
Click on the ‘+’ button and a new role will be created. Name your role, select your role color, and review the role’s permissions before clicking ‘Save Changes’.
Role permissions #
Role permissions are what enable you to control what your users can, and cannot do within your server. Roles come with an extensive list of role permissions, allowing you to customize various allowed actions, such as preventing specific roles from attaching files while allowing other roles administrative privileges.
To better understand what each permission does, check out our tutorial on Roles
Billable Roles #
Billable roles are roles that your members can pay for in order to access certain channels or categories in your server. If you’d like a role to be billable, simply enable the ‘Billing’ toggle on your role of choice.
Enabling billing will open up several other options that allow you to control how you charge your users. Each role can be allocated to more than one channel, enabling you to create different billable role tiers, where higher tiers allow purchasing members to access many different channels. To customize channel access permissions, check out this article.

Trial Access #
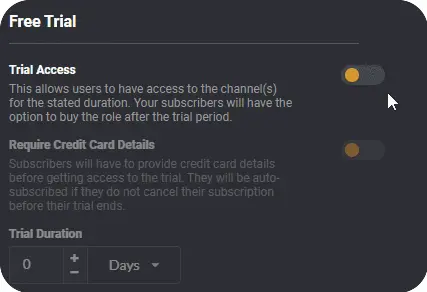
When enabling billable roles for your users to purchase, you will be able to provide them with a free trial that will grant them access for a set period of time. If you wish to provide your users with a free trial to your billable role, simply enable the function and specify the trial period in your role settings.
Pricing #
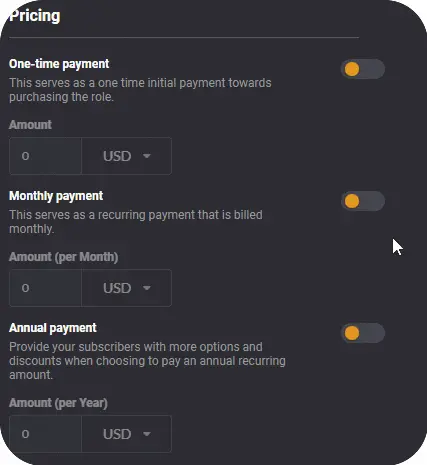
In order to determine how often your users will be charged, head to the ‘Pricing’ portion in your role settings. Here, you can decide if your users will be charged once, monthly, or annually for the chosen role. Simply toggle the slider of the preferred payment cycle and specify the amount to be charged.
Assigning roles #
Once your roles have been created, you can begin assigning them to your server members. To assign roles, head to your server settings and navigate to ‘User List’.
From there you can view an extensive list of your server’s members. To assign a user a role, first, locate them using the search function in the top right area. Once you’ve found your user of choice, click the ‘+’ icon under the ‘Roles’ column. Roles not yet assigned are represented by a ‘+’ icon. Choose the role you’d like to assign them and you’re done!

Removing Roles #
To remove roles click the ‘+’ icon under the ‘Roles’ column. Choose the role you’d like to remove from the selected member. Roles already assigned and can be removed are represented by an ‘x’ icon. Click on the role you’d like to remove and you’re done!


