Request Management is a special feature that allows you to get your users to specially request for access to certain channels. How it works is that they would send in a request based on the instructions you’ve laid out and you can then approve/reject it. Upon approving it, you’ll be able to assign them a “Role” which would grant them access into the channel (or range of channels).
So this is usually how the flow looks like:
- You set some requirements for a user to complete in order to send in a request (eg. attach purchase receipt)
- When user clicks on the channel, it shows them the requirements.
- User applies when he has fulfilled the requirements.
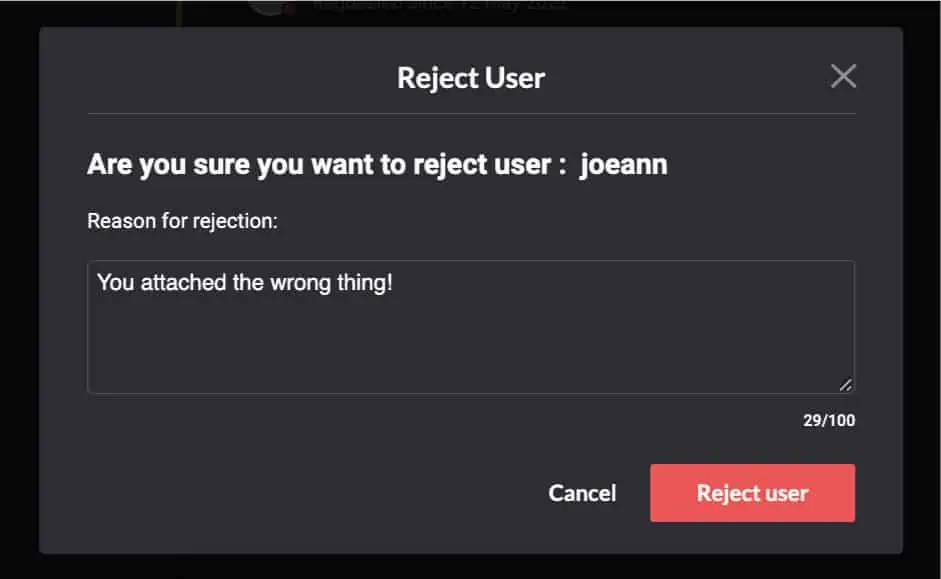
- You review the application and can choose to accept/reject it.
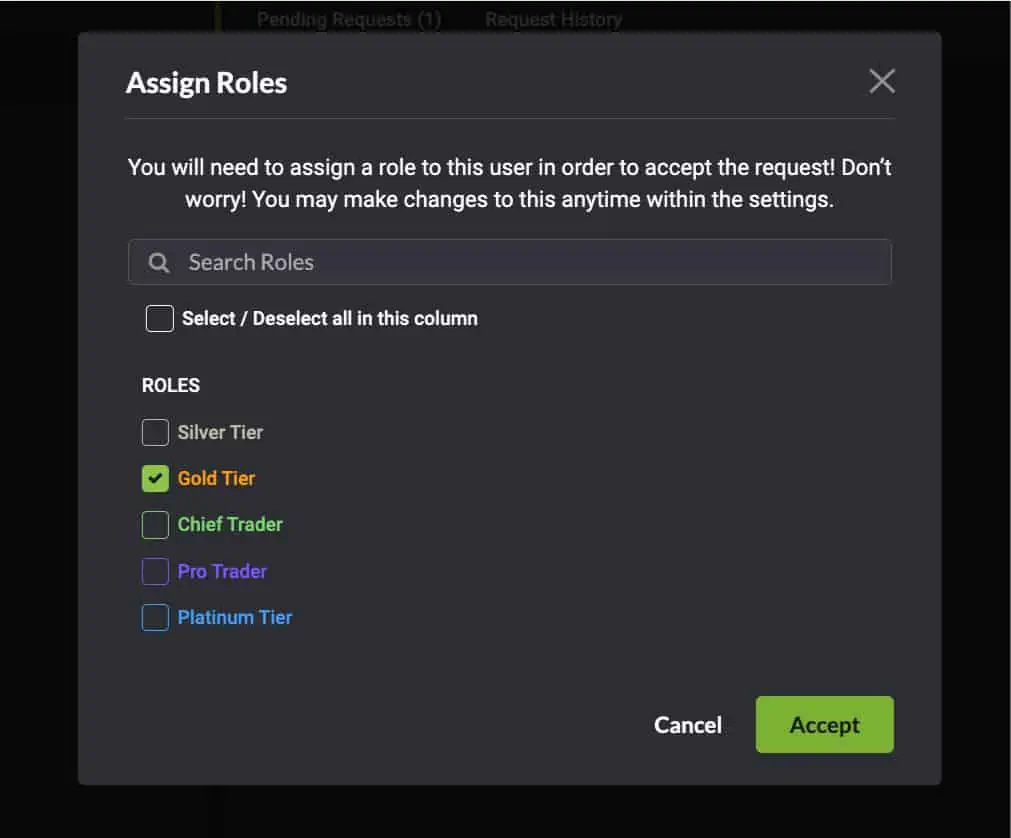
- If you accept it, you get to assign the user any of the roles which would grant him access into the channel (or range of channels).
Setting up the conditions #
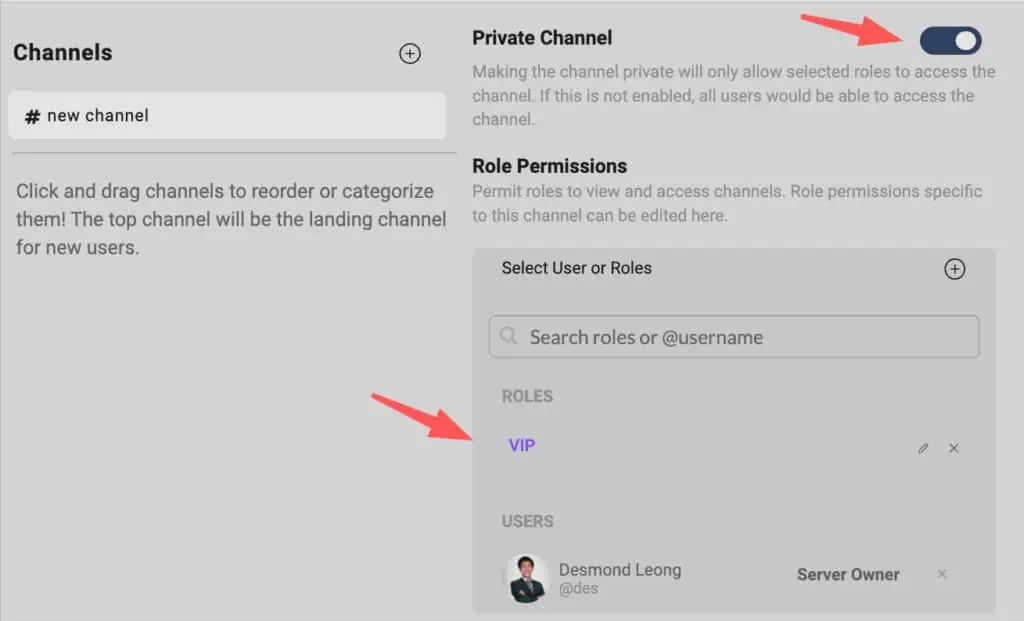
To set up the conditions, you’ll need to go to the specific channel and toggle it to a “Private Channel”. Doing so would remove the @all role from the “Role Permissions” (since it is now private). You’ll need to add in the specific Role here that would get access to this channel.
In the example below, we have a role called “VIP” that is able to get access to this private channel.
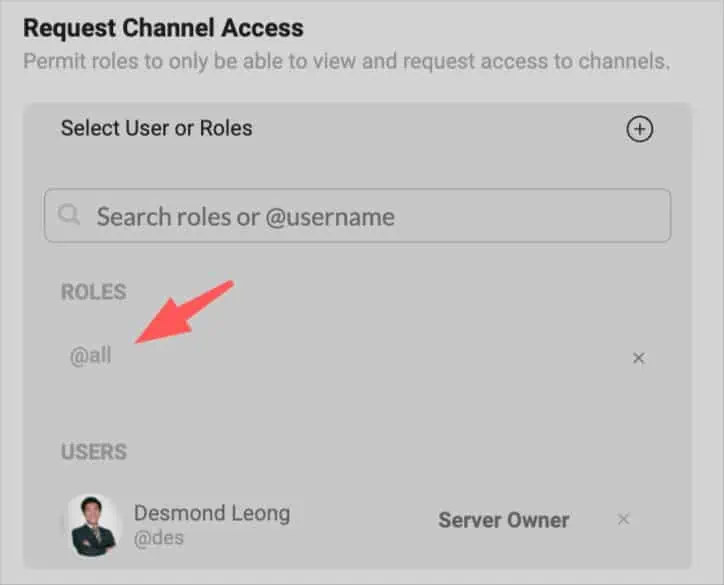
From there, you’ll then need to select the Roles of users who are able to request access. For example, if you would like everyone to be able to request access, then you can place the role @all here.
You can also make it such that not @all people can apply, and instead only people who are already on the @waitlist can apply. It’s up to you to design the experience!
You’ll then need to scroll down a bit more to list out your requirements along with whether you require the user to include attachments in his application.
Here’s how the entire process looks like from setting the requirements, to the user sending in and you approving/rejecting it.
Listing your requirement #
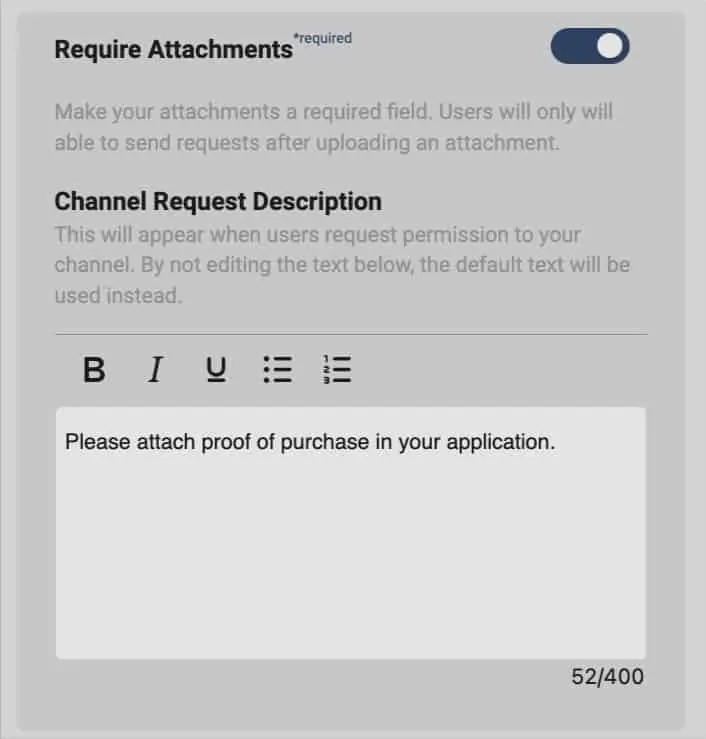
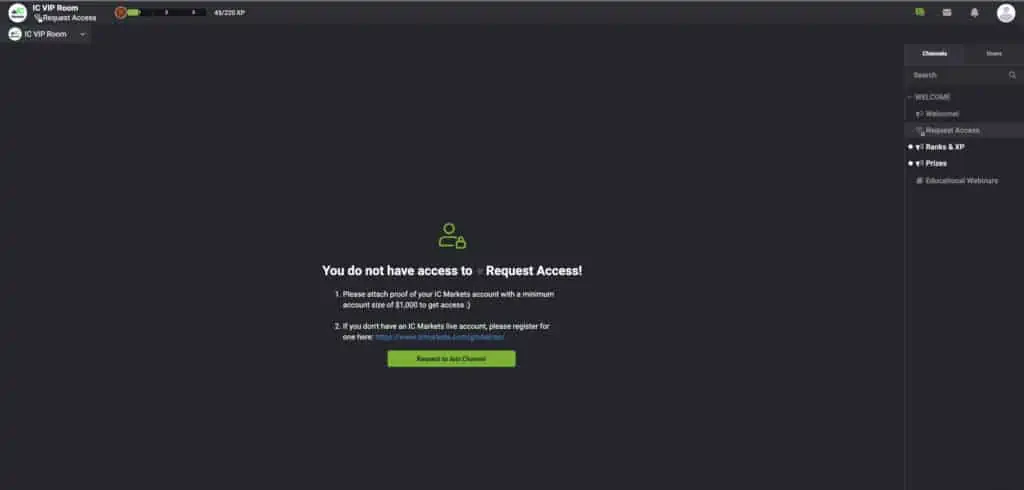
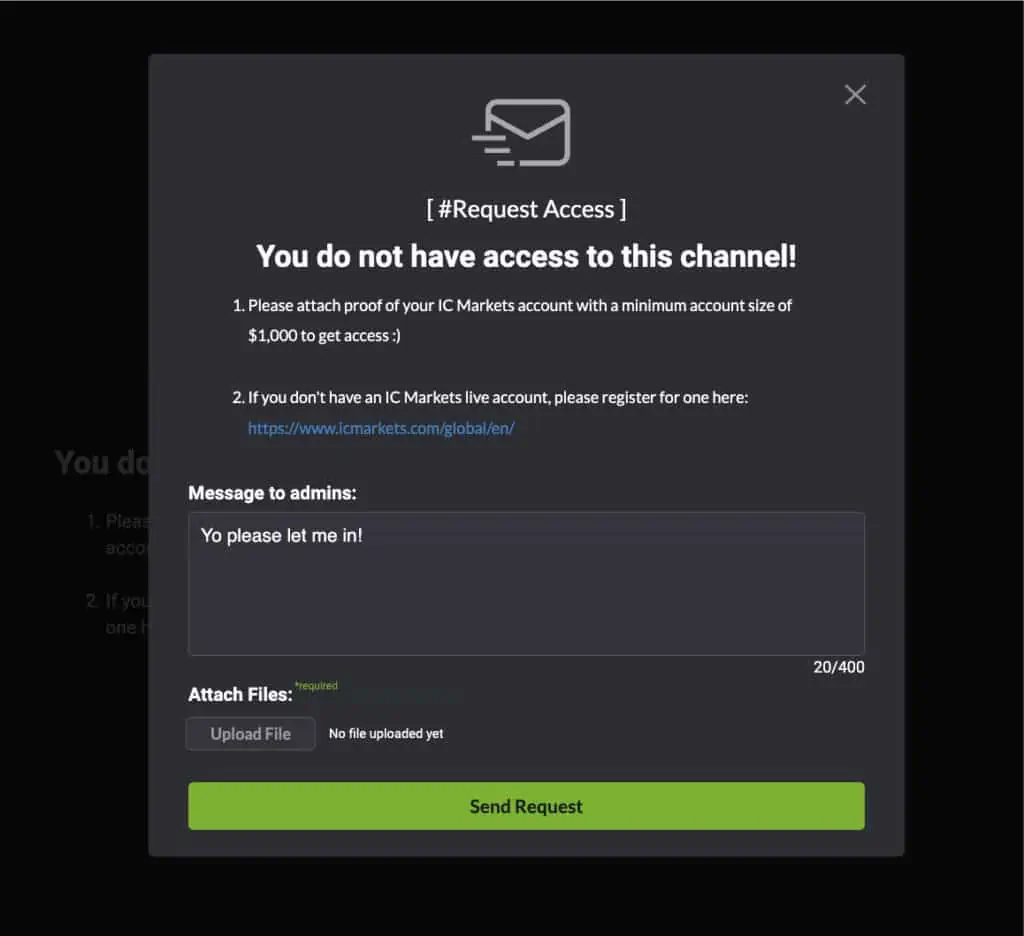
What you type here will be seen by the user when he clicks on the channel to request access. Here is how it looks like:
How it looks to a user #
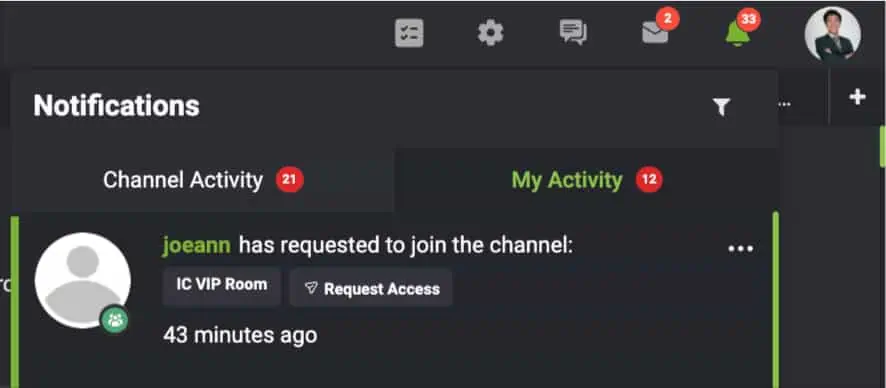
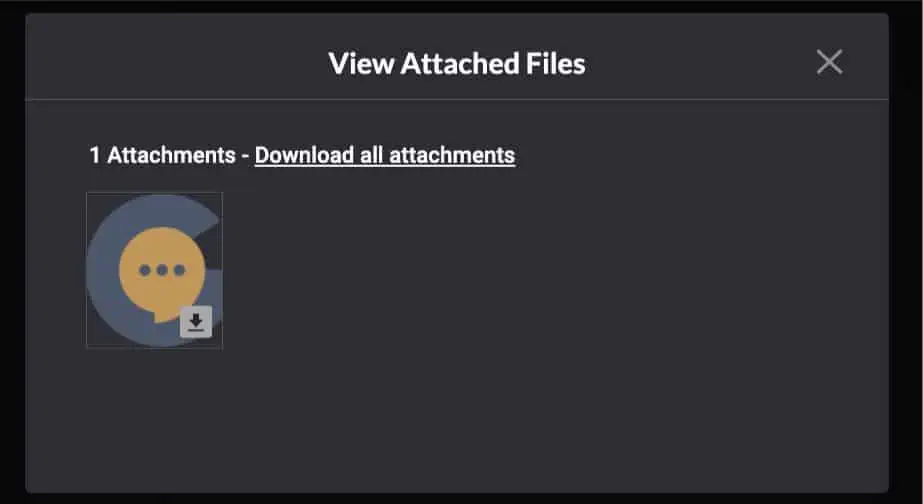
How it looks to the admin #

Rejecting the user's application #
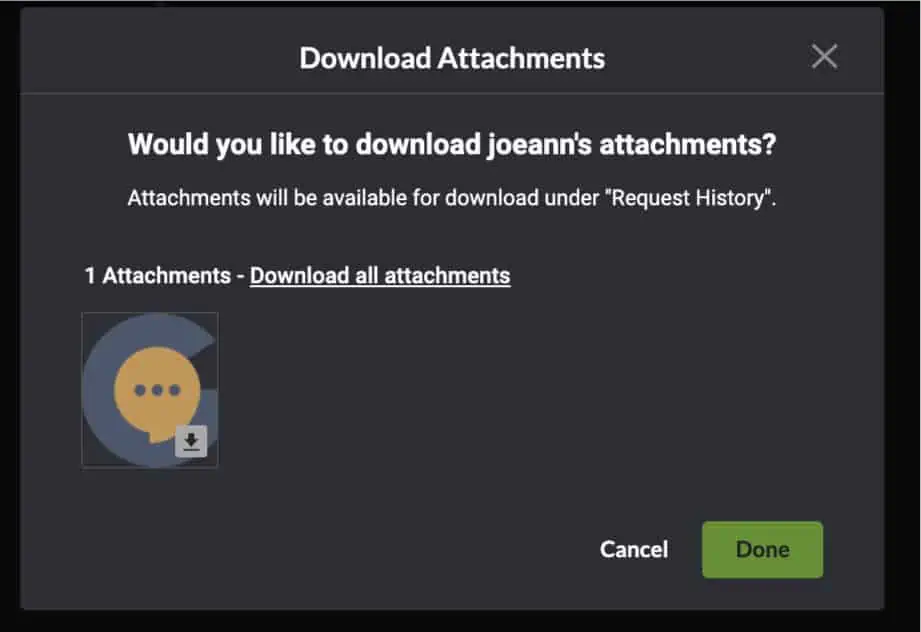
Accepting the user's application #
Reviewing historical records #
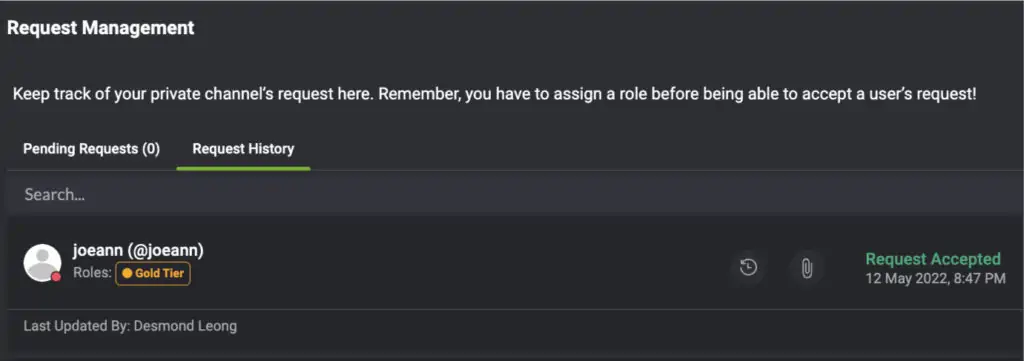
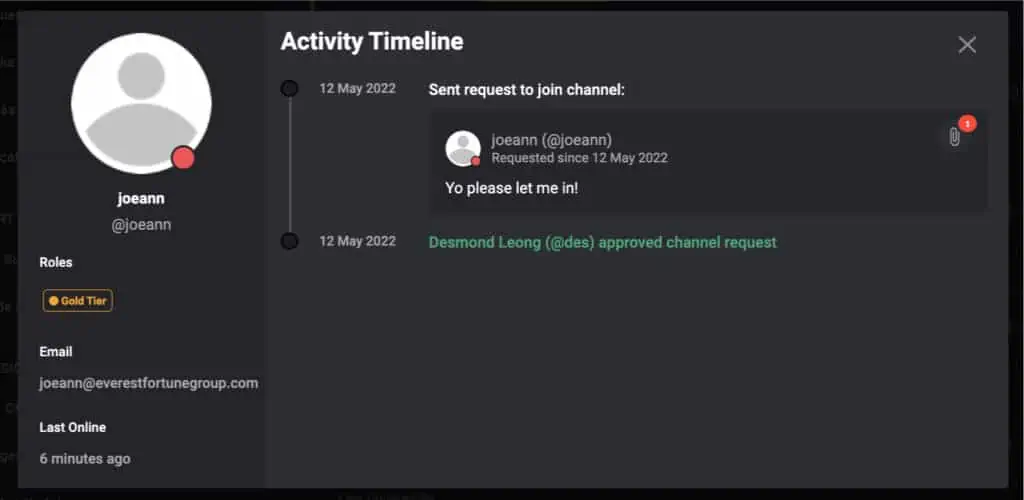
What happens from there is that the user now has the role assigned to him and has access to the channel(s) that it unlocks.
How else can it be used? #
One useful way to use this request management feature is to have it unlock multiple channels. “Roles” unlocks “Channels” so even though we issue a user a single “Role” such as “Role 1”, it can actually be used to unlock all the channels that require Role 1 to get access.
In the above example, one company puts 90% of their channels as “private” and only when a user is assigned a role, does he unlock all the other channels.
We have seen many creative ways that request management is used such as:
- Proof of purchase (to get access into a warranty channel)
- Proof of following on instagram
- Proof of subscribing to youtube channel
- Proof of an account with the company
- Proof of subscribing to various social channels
- Proof of real identity (for stricter communities in avoiding scammers and spammers)
All in all, a very useful tool for businesses to use to get community members to jump through some hoops to get access to exclusive content.


