Genesiv’s WordPress Login API Plugin allows your server users to log in to the server directly from your website and assigns them server roles based on preset criteria. This means that VIPs on your website who log in to your server can be automatically given a VIP (or another name of your choice) role upon joining your community. The following steps will help you with setting up your WordPress plugin to integrate your site and your community better.
Download & Installation #
First, head over to Genesiv’s download page. Scroll past ‘All Downloads’ to arrive at the ‘Plugin Downloads’ section of the page. Locate the WordPress Plugin and simply press ‘Download’. Simply save the .zip file on your PC, there is no need to extract its contents.

Once your plugin has been downloaded, head over to your WordPress admin settings. Navigate to your Plugins on the left-side menu and click ‘Add New’
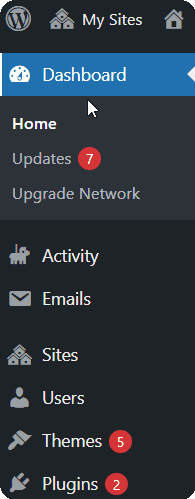
Once there, click ‘Upload Plugin’, select the .zip file that you downloaded, and click ‘Install Now’.

Plugin Set-up #
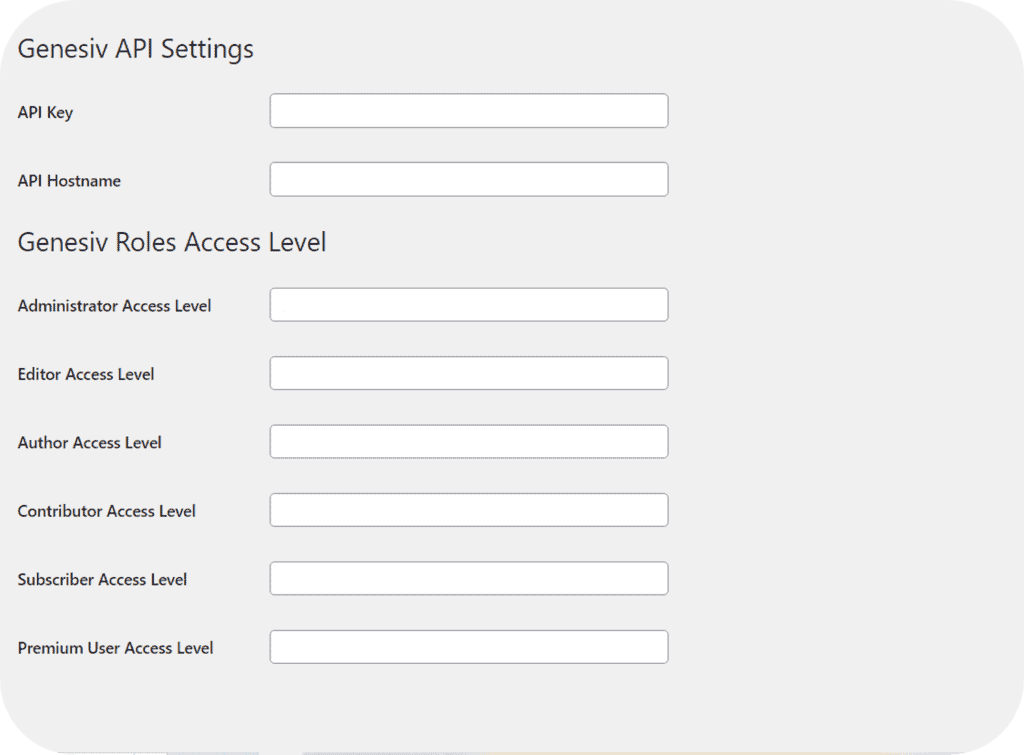
Once you’ve successfully installed the WordPress plugin, you will be able to access it in the side menu. Navigate to your Genesiv plugin settings on the left-sidebar, and you should be able to see entry fields for your API Key & Hostname, as well as a list of your site’s roles. Your API Key & Hostname are located in your Genesiv Server settings.
Getting your API Key #
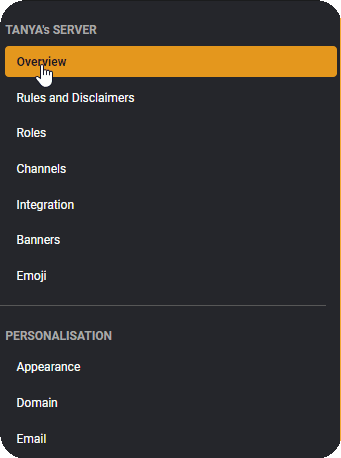
To obtain your API Key, head to the server settings of your Genesiv server and locate ‘Login API’.

Here, you will be able to copy your API Key. Simply click on ‘API Key’ and copy the code that pops up.

Getting your API Hostname #
Before obtaining your API Hostname, you will need to set up a custom domain. The WordPress plugin cannot be used with servers that do not have a custom domain set up. If you haven’t already set up your custom domain, you can find the steps to do so here.
If you have already set up your custom domain, simply head to ‘Domain’ in your server settings and copy your custom domain link. Your custom domain is synonymous with your API Hostname.

Mapping Roles #
Once you’ve copied and inputted both keys, you can now move on to mapping roles. Your current list of existing WordPress roles should already be reflected in your Plugin Settings. In your WordPress settings, first, assign the desired value to all of your roles and click on ‘Save Settings’
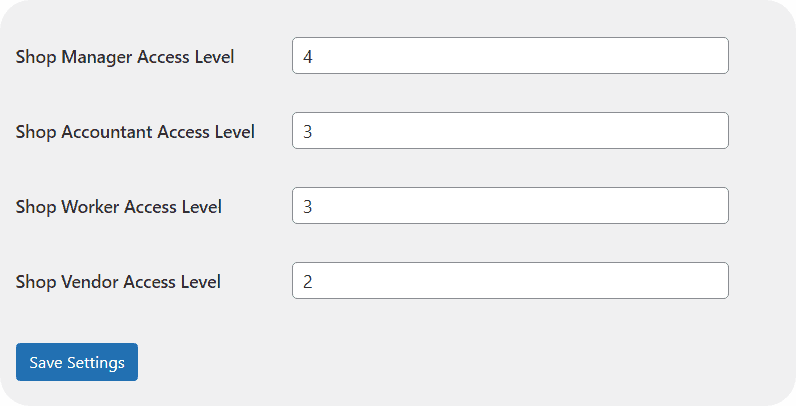
Once you’ve configured your values in WordPress, head back to your Login API settings in Genesiv. Click on the plus button next to ‘Login API’ and a pop-up window will allow you to enter a value and select a role that said value will be mapped to. Your value is what links your WordPress roles with your Genesiv ones. In this example, if you want a Shop Manager to have an Admin role, you would enter the same value that you’ve assigned them in your WordPress settings (In this case, 4) in the pop-up window, and check ‘Admin’ from the list of roles before clicking ‘Add’. If you have not yet created or set-up your server roles, or are unsure how to do so, check out this article here.
Once you’ve mapped all your WordPress Access Values to Roles in Genesiv, you’ll be good to go!


