Gaining Experience Points (XP) through performing various actions means nothing if it does not help you rise through the different levels. With the Gamification add-on, you can then optionally turn on “Tiers, Levels and XP” which allows you then to customise the different levels which your users will rise through along with the different tiers which they will then be assigned.
Used correctly – this can be a huge motivating factor for your users to gain recognition in the community by rising through the tiers and having nice little icons that appear beside their username in the chatroom.
Tiers, Levels and XP #
A tier is made up of 3 levels. For example:
- Tier 1:
- Level 1
- Level 2
- Level 3
- Tier 2:
- Level 4
- Level 5
- Level 6
The reason for this is that it allows users to slowly rise through the levels to go from one tier to the next.
To give you an idea on how that looks like, this is how the gamification progress bar looks like at the top left corner of the screen (when gamification is enabled):

As you can see, a single tier is made up of 3 levels for a user to rise through. Once he reaches the end, he advances to the next tier.
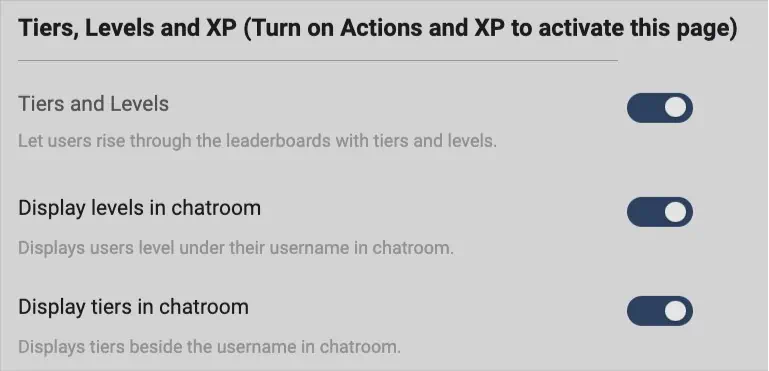
Now that we’ve got that out of the way, let’s explain some of the options you’ll find on this particular page (Tiers, Levels and XP)

- Tiers and Levels
You’ll need to activate this to allow your users to rise through the tiers and levels. If it is not activated, the other 2 options below would be deactivated too. - Display levels in chatroom
Now, usually it’s good to show a user’s level in the chatroom so everyone can see what each other’s ranks are. However, sometimes you might not want to do so especially fi it’s a new community and you would like everyone to rise up the ranks first before turning this on. - Display tiers in chatroom
Tiers are basically the “badges” that appear beside your username. Again, useful to activate as it allows your community members to see who are the active contributors.

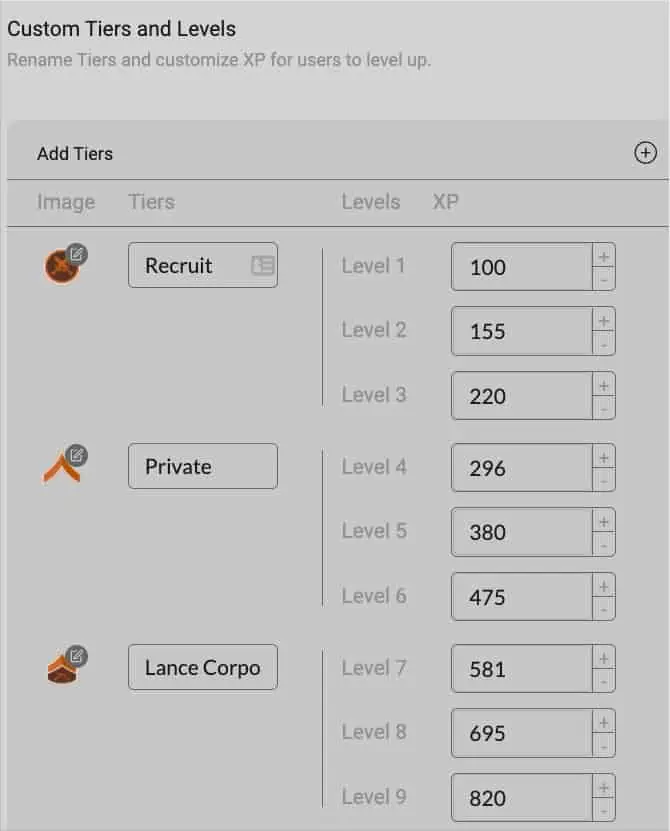
From the above picture, you can see that you’ll be able to assign an image to each tier – this is the image that will appear beside the user’s display name when he attains it. To give you an idea on how that looks like:

The little gold icon is the tier image while the Lvl. 51 is the level of the user – as mentioned earlier, it can optionally be turned on/off.

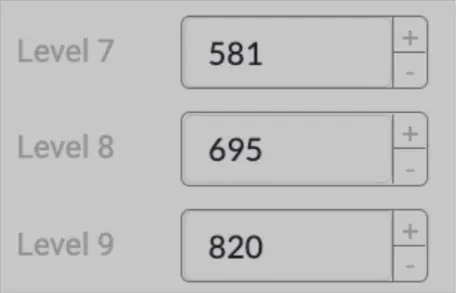
The numbers you see beside each of the levels indicate the number of XP that needs to be accumulated to reach that level. You can use any value you wish – as long as it is in ascending order.


